Need a repair kit? Please contact us to receive your kit.
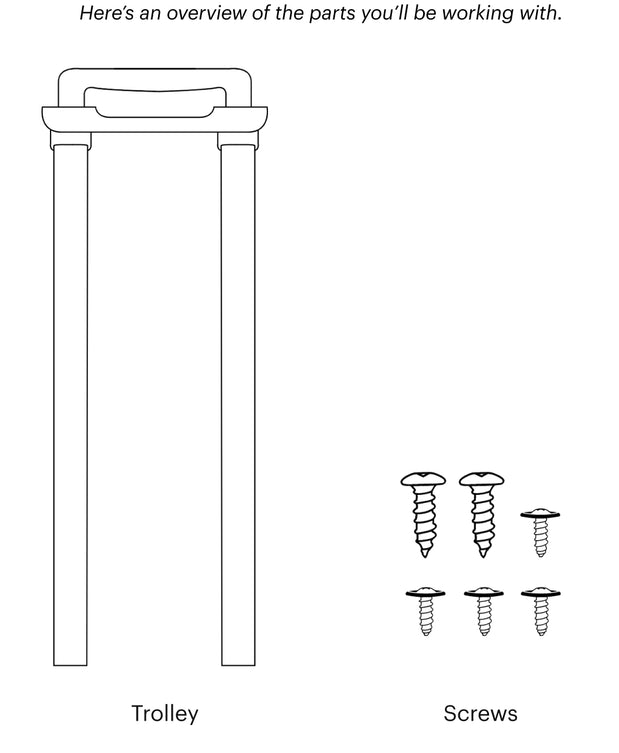
The only tool you need is a screwdriver—we recommend�a Phillips head or a power drill (if you have one). Before you�get started, take a minute to read through the instructions.
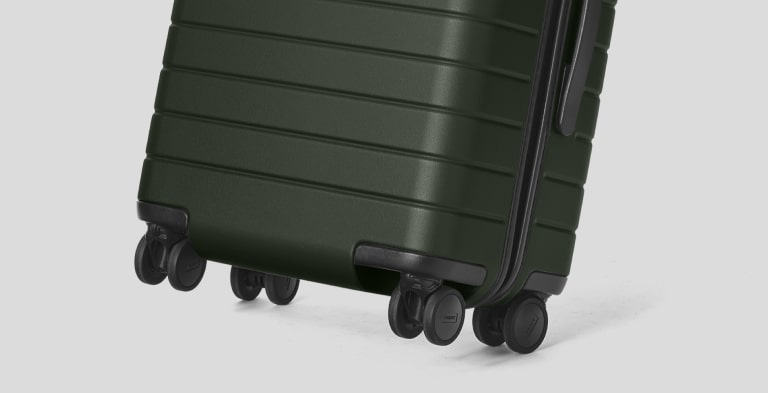
- Open your suitcase, lay it flat, and remove the removable lining on the side that has the broken wheel(s).
- If your bag has tape covering the screws, remove the tape and �set the pieces aside.
- Unscrew all screws, with their washers if washers are present on each screw, and remove the damaged wheel from the exterior of the bag.
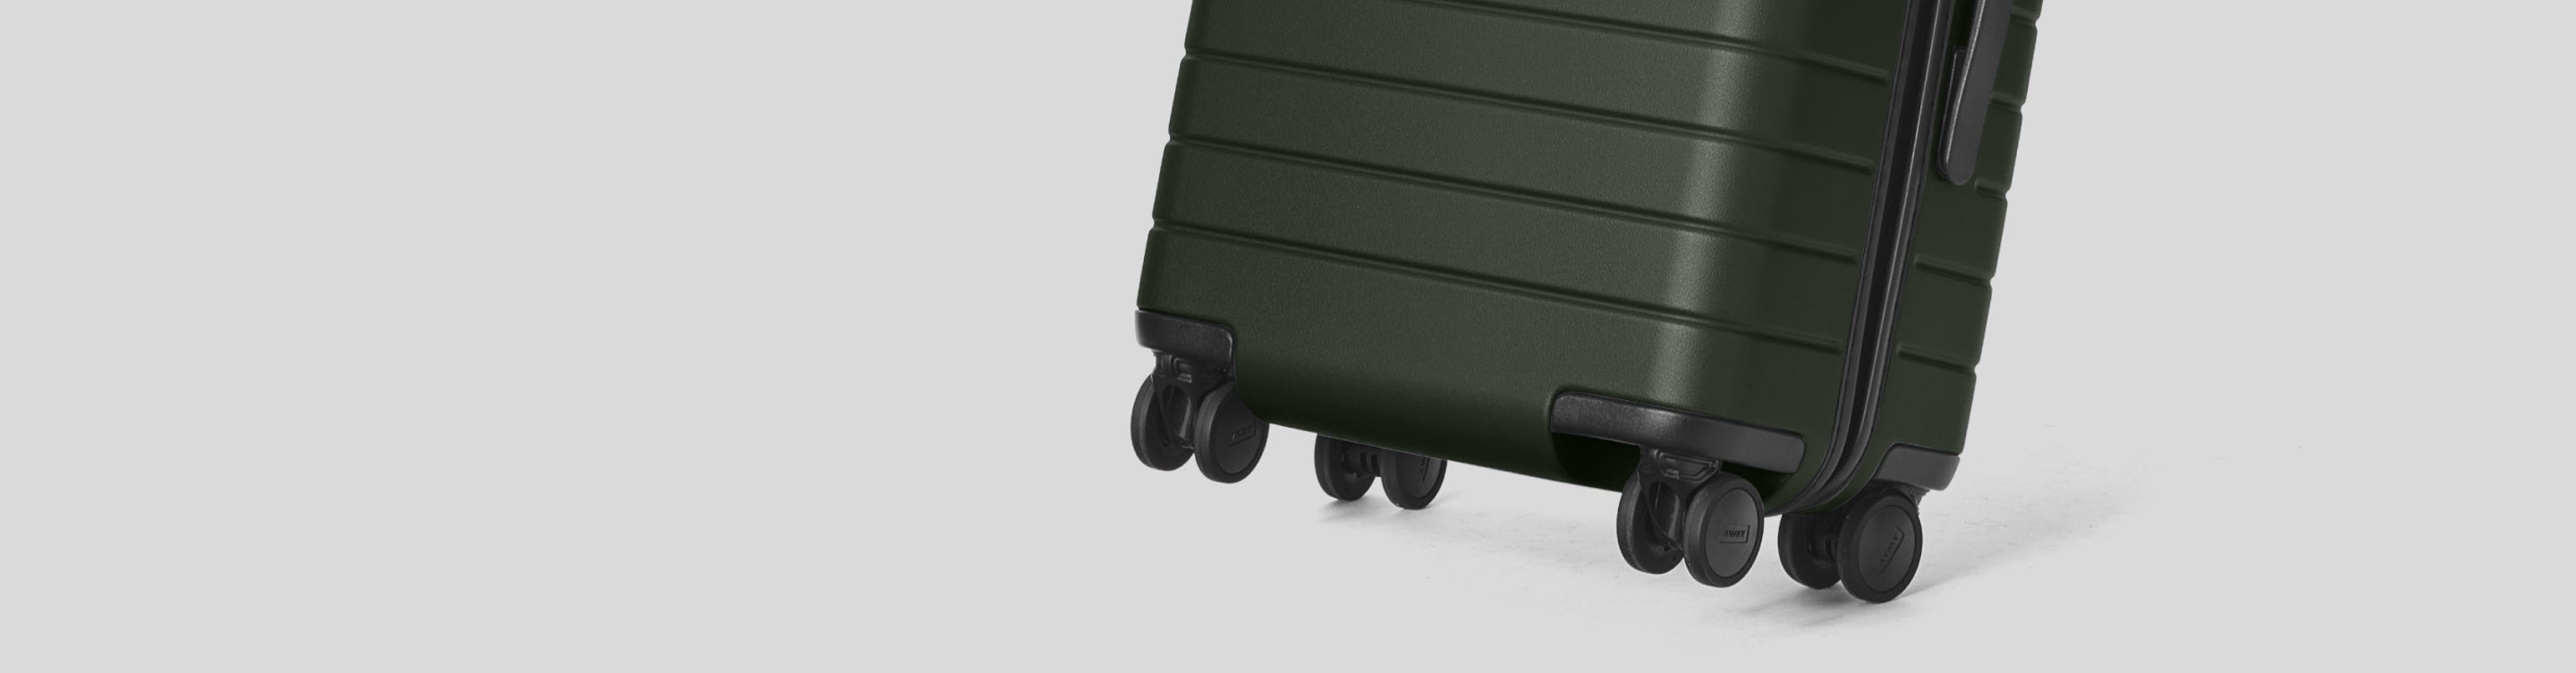
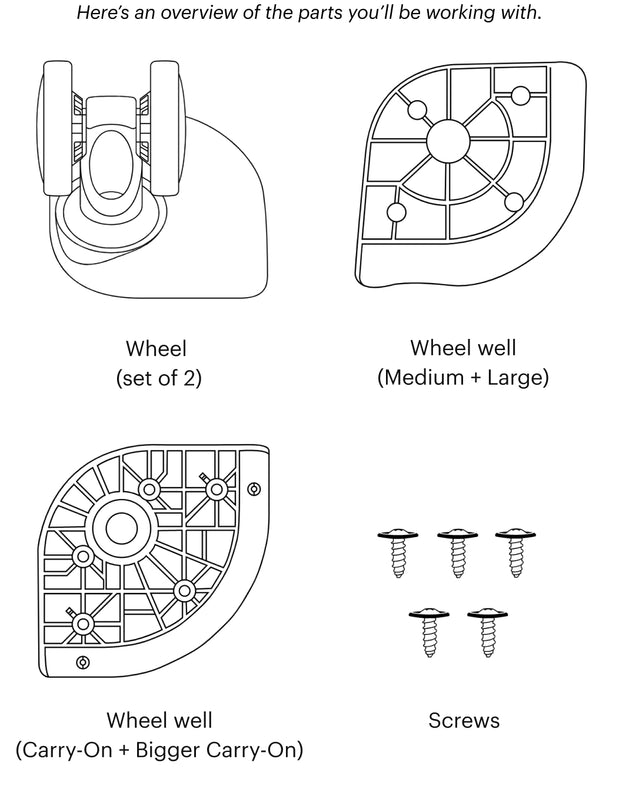
- Slide the new wheel into place. For carry-ons, replace black inner wheel reinforcement too.
• Pro tip! Different screws may be used in different areas of the wheel.
• Sort your screws while you work to remember which go where.
• If you have a Carry-On or Bigger Carry-On, there will be 5 screws and an inner wheel housing. Remove and set aside.
• If you have a Medium or Large, there will be 4 screws and the inner wheel reinforcement will be integrated with the base of the trolley or the base handle. Simply unscrew the four screws that attach the wheel and set aside – the reinforcement should remain attached and in place.
-
Line up the screws (with washers if present) with the wheel’s screw holes.
- Insert screws into screw holes, and screw until they can twist no further.
- Cover with tape, zip the lining, and voilà!
That’s it! You’re good to get back on the road again.
Away does not assume liability for injury or damages resulting from this DIY repair kit or these instructions, so please proceed with caution. If you have any questions about these instructions, you can always reach us at help@awaytravel.com at any stage of the repair process and we’ll help you through it!